eTask installation
Preparation
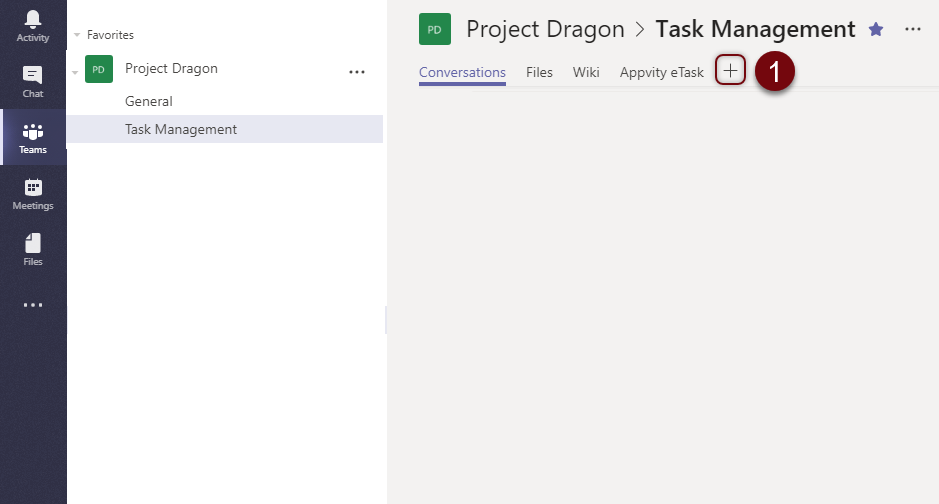
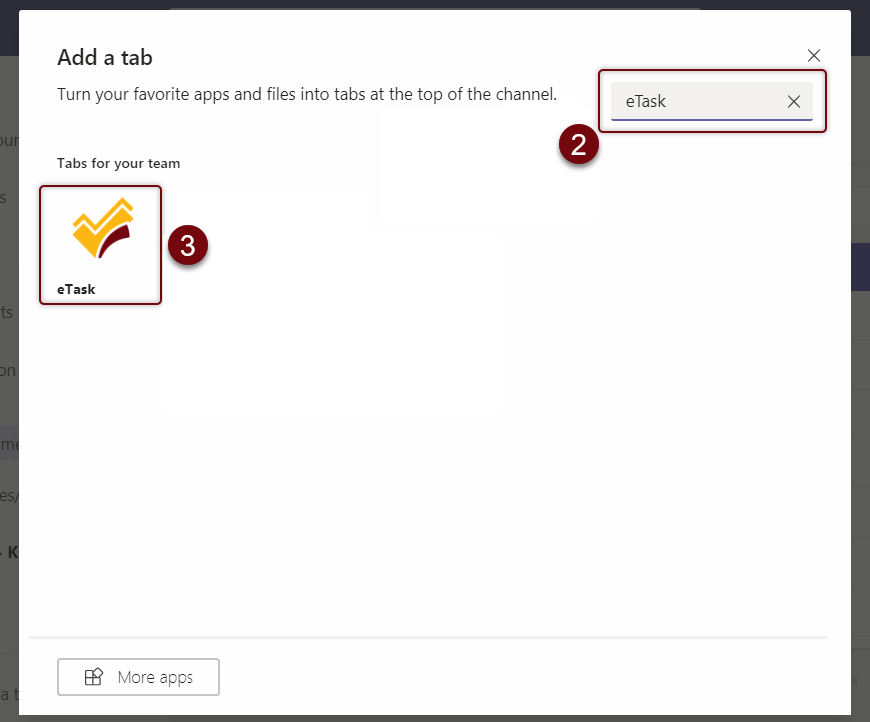
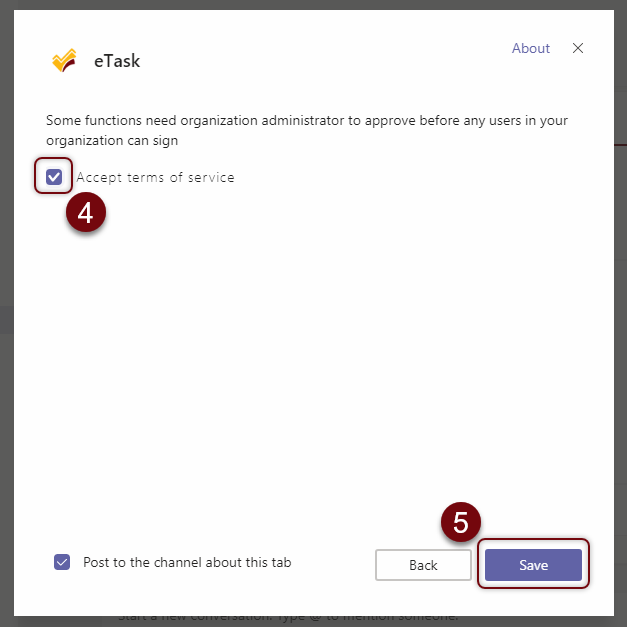
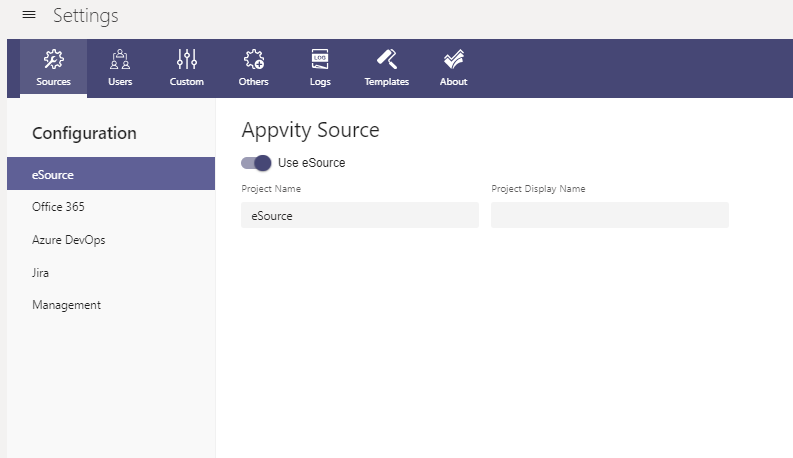
Before installing eTask in Microsoft Teams environment, the following information should be prepared for a smooth installation.
Items |
Information |
Use AzureDevOps: |
Host name Token |
Use Jira |
Host name Access account |
Use Microsoft Planner |
Plan name Access account |
These above items are required for synchronization between eTask and external sources.
Install eTask in Microsoft Teams App Channel
- Select the Channel and click the + icon to add a new tab.
- Look for “eTask” in the search box and select eTask.
- If this is the first-time that user adds eTask to the Channel, or if eTask session has expired, user will need to sign in their O365 account.
- Click to accept terms of service and Save.
- Configure and save eTask settings for the first time to finish adding eTask to the Channel.
Comment